This guide provides step by step instructions to install PXE role, Creation of boot image, Creation of OS image, Creation of OSD task sequence and deploying Windows 10 OS via PXE boot on SCCM 1902 lab environment.
Enable SCCM PXE Role
First we need to prepare environment for configuration manager OSD. we have to create Network Access account in Active Directory and this account is used by the client to access the Configuration Manager Distribution point when booted under WinPE so make sure the account has the necessary permission for this action. Then we have to Enable PXE role on our SCCM server.
Follow the Below Steps to Enable PXE support,
Open the SCCM Console
Go to Administration / Site Configuration / Servers and Site System Roles
Select your distribution point and right-click on the Distribution point role on the bottom, select Properties

Select the PXE tab
Enable the Enable PXE support for Clients check-boxandanswer Yes when prompted about firewall ports (UDP ports 67, 68, 69 and 4011 )

Check the Allow this distribution point to respond to incoming PXE requests check box
Check the Enable unknown computer support check box
Ensure that the Respond to PXE request on all network interfaces is selected Click OK

Go to Monitoring / Distribution Status / Distribution Point Configuration Status
Click your distribution point on the top and select the Details tab on the bottom
We will see that the distribution point PXE settings has changed

BOOT Image Distribution
Here we are going to use the default SCCM boot image,
Open the SCCM Console, Go to Software Library / Operating Systems / Boot Images, Right-click Boot Image (X64) and distribute to DPs.

Add Operating System Image
Launch the Configuration Manager console, click on Software Library, click Operating Systems, right click on Operating systems images and click on Add Operating System Image.

Specify the path where the install.wim is present. Click Next.

Provide details for the operating system image. Click Next.

Click Next and click close.

Distribute the image into DPs

Select the Distribution Point

Click Next and Close

Configure Network Access account and this account is used by the client to access the Configuration Manager Distribution point when booted under WinPE
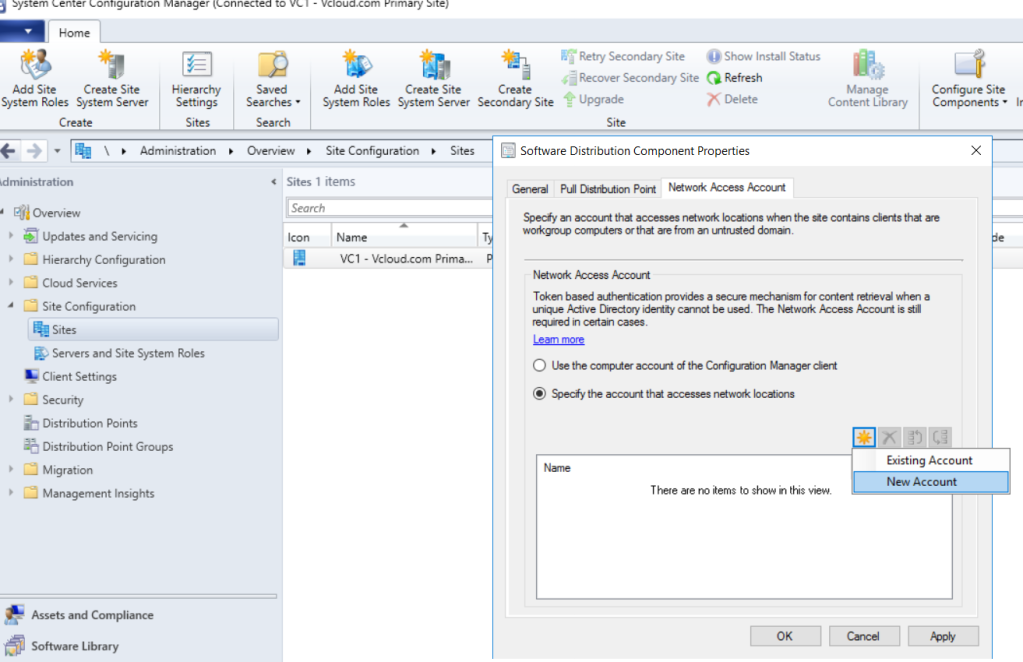
Specify Network Access account

Task Sequence Creation
Launch the Configuration Manager console, click on Software Library, expand Overview, expand Operating Systems, right click Task Sequences and click Create Task Sequence.

Type Task sequence Name

Select Boot Image

Select Operating System Image

Select Image Index ,type the Product Key ,type Local Administrator password and Next

Configure Domain Join Account

Select Join a Domain and browse the Domain OU and Click Next

Select Configuration Manager Client Package

Click Next since we are not using State Migration here

Select the Appropriate Software Update option, here i have selected Do not install any software updates

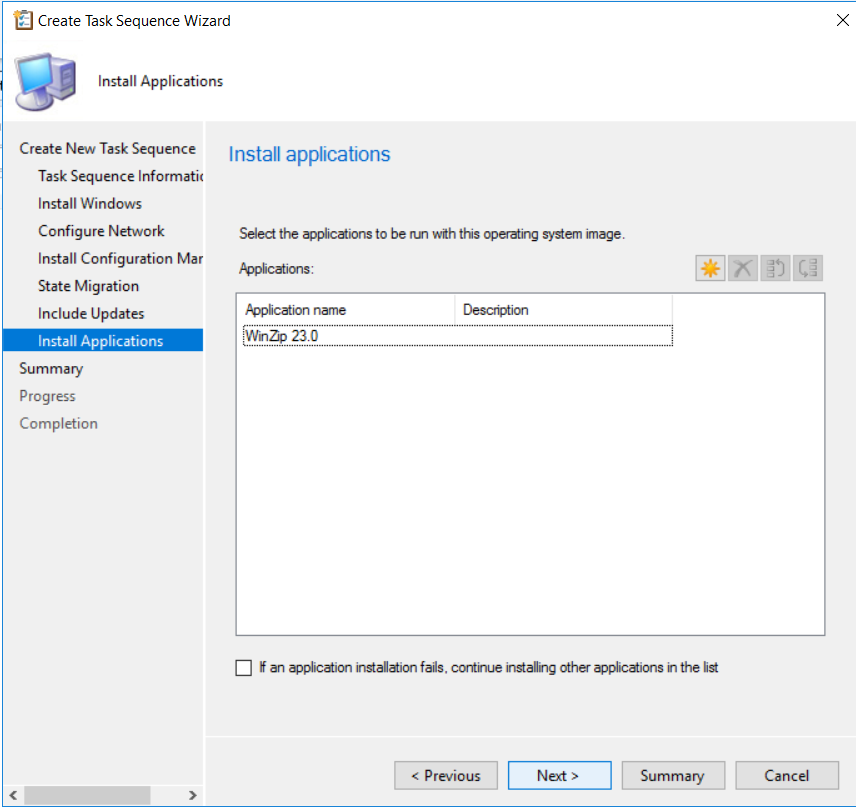
Select the Application Which we want to install during the task sequence
Click Next and Close

Task sequence has been created successfully, below is our basic win 10 task sequence view

Deploy task sequence into Unknown Computer Collection
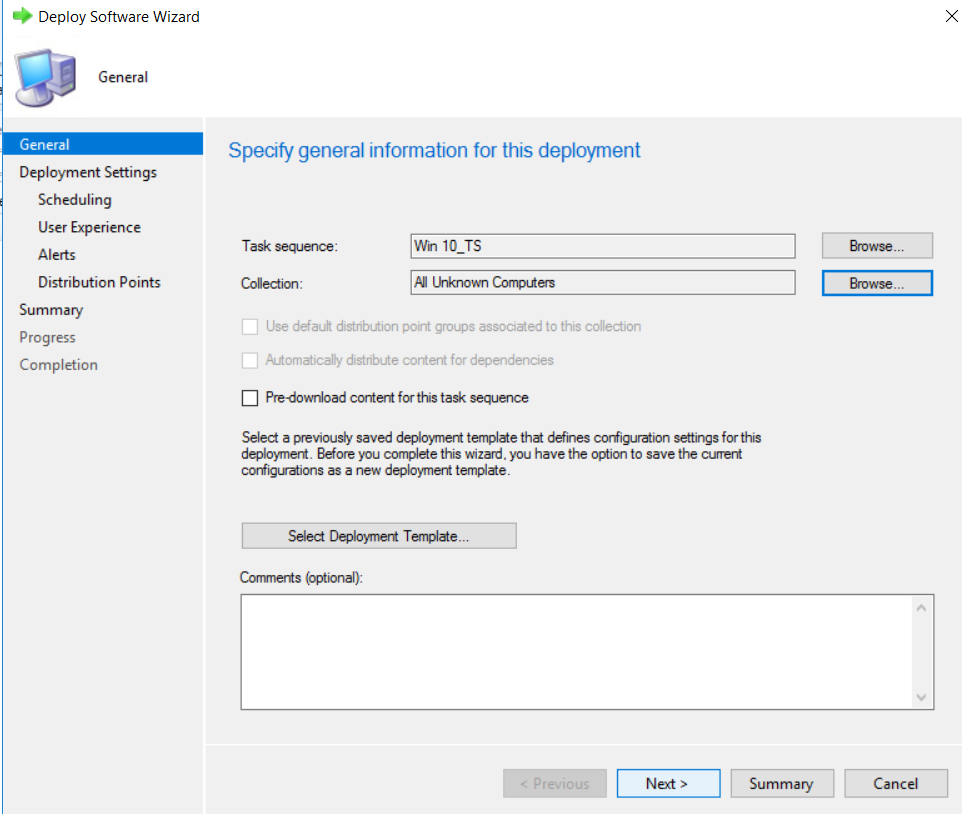
Select task sequence right click and Click Deploy

Select All unknown Computers collection
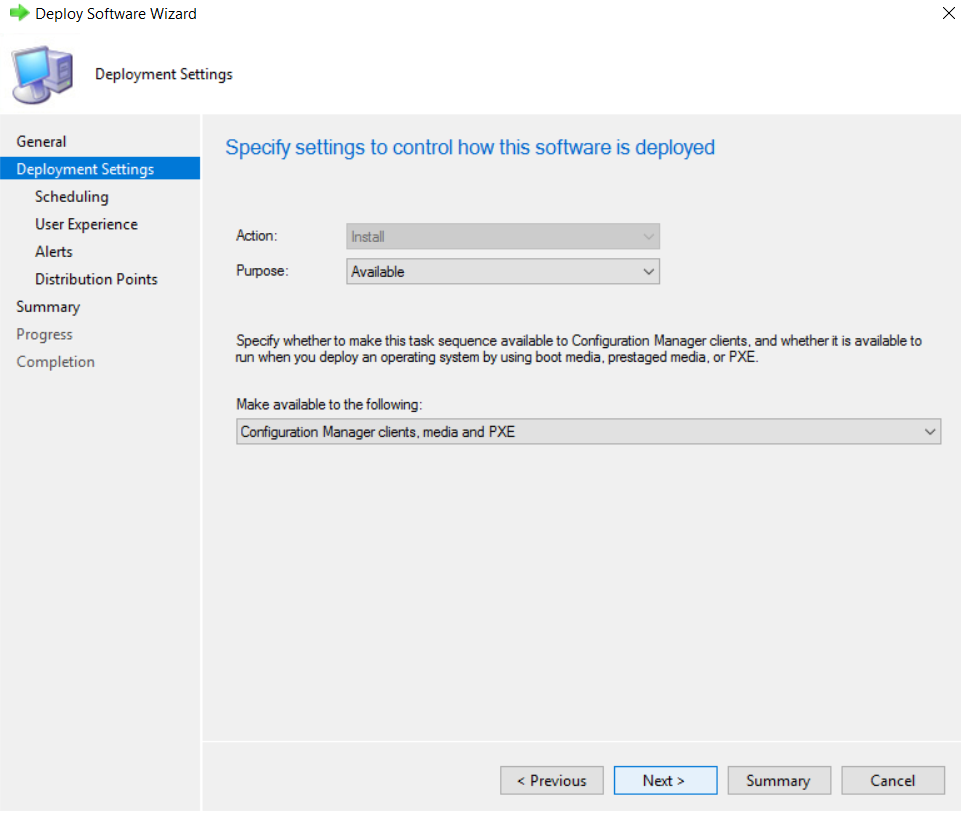
And Select Pupose & Make available to PXE and Click Next
Select the Deployment schedule and click Next

Select User experience Option as per below and Click Next

Select deployment options as download locally and click Next

Verify the Summary and click Next

The Deploy task sequence wizard completed Successfully

Deploying Windows 10 via PXE boot
Here I have prepared another hyper V host and deploying windows 10 via configured PXE boot
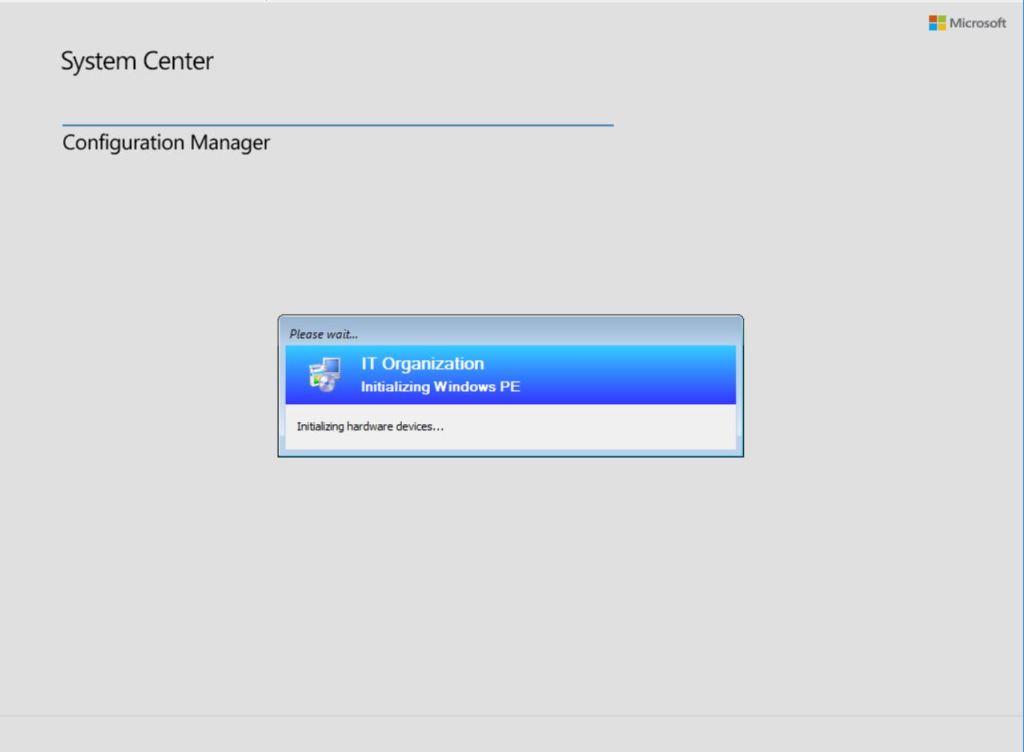
Press F12 to boot from the network and the machine will get IP from DHCP, Contacting PXE server,Downloading and initiating the Boot Image

Task sequence wizard will appear and type task sequence password

Click Next

Task sequence variable will appear and Type the OSDComputerName

Click Next

Partition Disk stage Running

Applying Operating system stage Running


Setup Windows and Configuration Manger Stage Running

Setup Windows completed and Auto reboot initiated

Post Reboot, System Initiating


Imaging Completed and type the Administrator password to login,

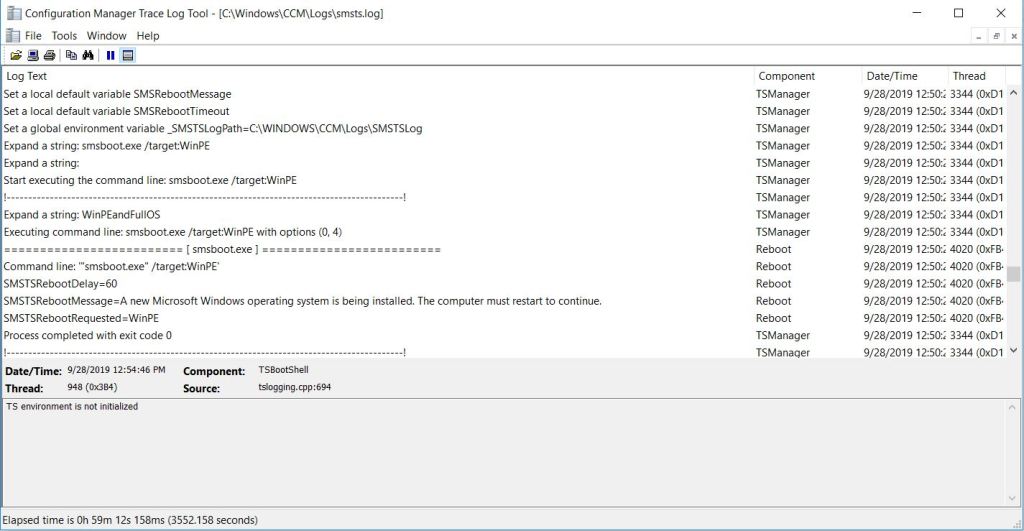
Verify the same from smsts.log

Windows 10 deployment completed Successfully.
Thank You:-)

Great post and i can easy to understand this.
Thanks.
LikeLike
Thanks
LikeLike
Wonderful, thanks a lot for your effort.
LikeLike
Thanks
LikeLike
Thanks a lot!
LikeLike
Explained well, easy to understand Osd process
LikeLike